Turning a Raspberry Pi into a radio transmission station
Radio transmission is typically reserved for large towers and hardware located inside brick and mortar buildings. However, with a few hardware modifications you can turn your Raspberry Pi into a mini radio transmitter.
NOTE: In the U.S. radio transmission is regulated by the FCC. This tutorial is for educational purposes only.
Plug-in your Raspberry Pi and turn it on. Then open the terminal enter the following code.
Step 1. Build the executable on the Raspberry Pi device.
sudo apt-get update
sudo apt-get install make build-essential
Step 2. Install Broadcom libraries on Pi.
sudo apt-get install libraspberrypi-devStep 3. Clone the following repository (fm_transmitter) and make it executable by using command “make”.
git clone https://github.com/markondej/fm_transmitter
cd fm_transmitter
make
Step 4. Test with a sample file.
sudo ./fm_transmitter -f 100.6 acoustic_guitar_duet.wavFunctions of fm_transmitter:
-f frequency – Specifies the frequency in MHz, 100.0 by default if not passed
-d dma_channel – Specifies the DMA channel to be used (0 by default), type 255 to disable DMA transfer, CPU will be used instead
-b bandwidth – Specifies the bandwidth in kHz, 100 by default
-r – Loops the playback
Step 5. Configure USB microphone for voice broadcasting.
In order to use a microphone live input use the ‘arecord’ command
arecord is a command-line sound recorder for ALSA(Advanced Linux Sound Architecture) sound card drivers. It supports several file formats and multiple soundcards with multiple devices. It is basically used to record audio using the command-line interface.
Syntax: arecord [flags] [filename]
Install arecord if it is not already installed
sudo apt install arecordStep 6. Install alamixer library.
sudo apt install alsa-utils libasound2-pluginsExecute ‘alasamixer’ in command line and configure USB microphone by pushing ‘F6’ key.
~$ alsamixer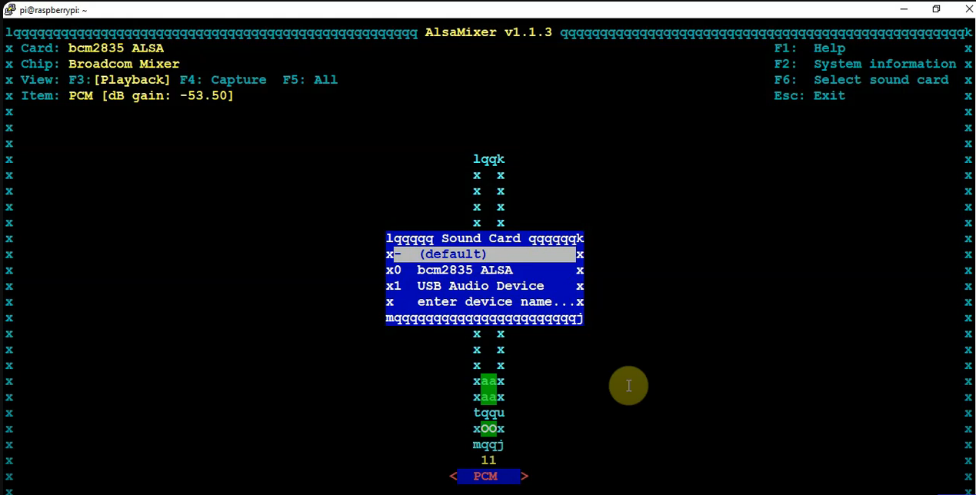
Step 7. Identify the USB Audio device, and input the following command
(In this example, we identified the USB Audio Device is “1”. Therefore, the following command has hw:1,0)
arecord -D hw:1,0 -c 1 -d 0 -r 22050 -f S16_LE | sudo ./fm_transmitter -f [selected frequency] -Step 8. Hardware configuration (GPIO and antenna)
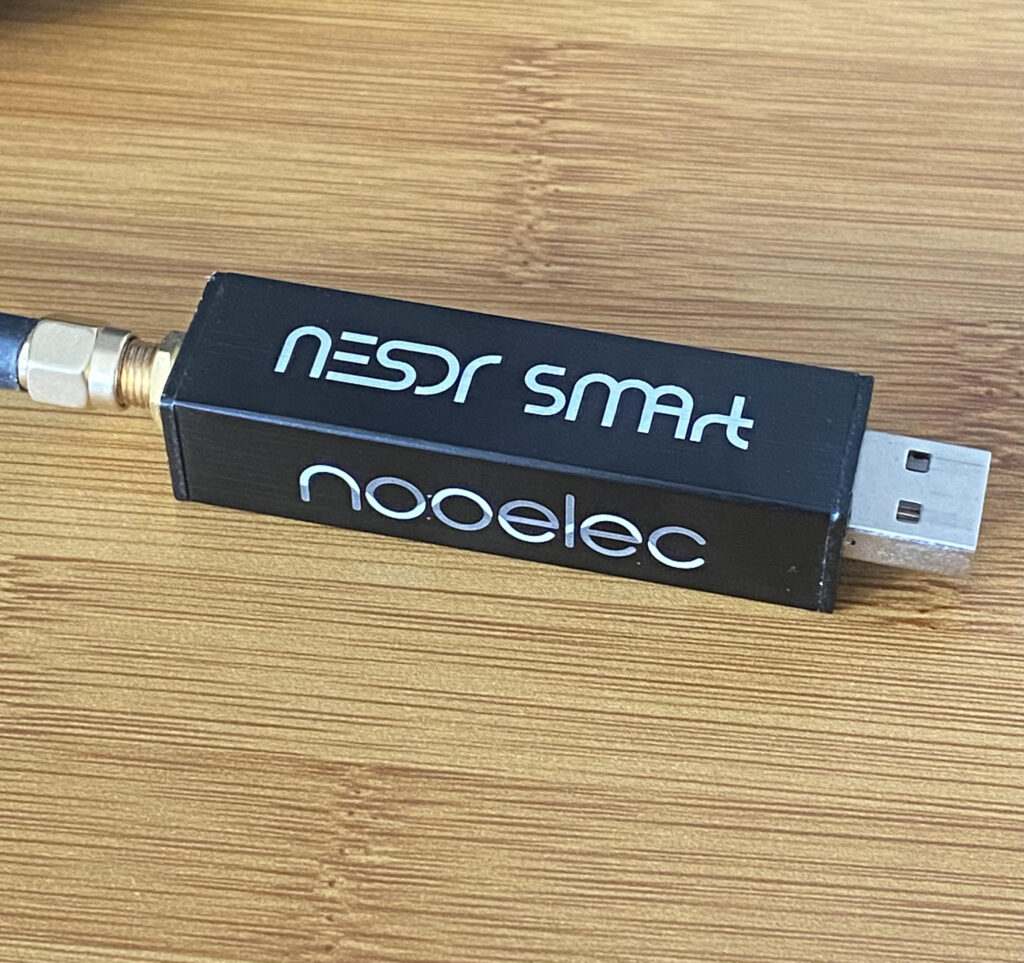
To propagate FM messages effectively, an antenna or an amplifier, or both are required. Another important note! Federal Communications Commission (FCC) limits approximately 200 feet broadcast for unlicensed operation. Therefore, in this chapter, we will only use a jumper wire. For better ranges, you will need an amplifier as shown in the following photo.
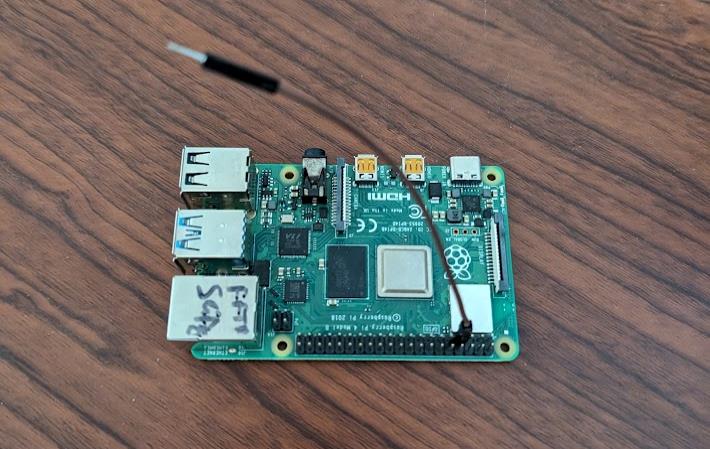
‘GPIO4’ on Raspberry Pi is used for FM signals.
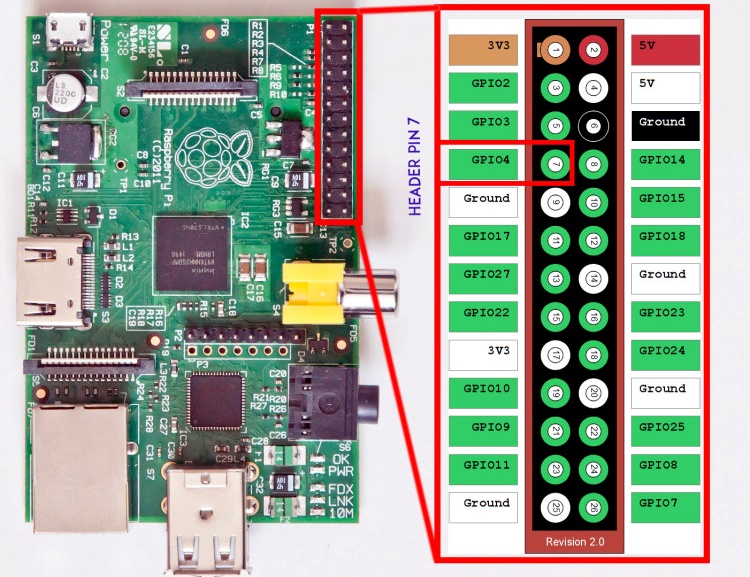
Connect the jumper wire to GPIO4. Just like this.
Now you can broadcast and your own pirate radio station. Enjoy!